Introduction
to Spider Web Cookie Stamp Cookies Spider web cookie stamp cookies are an innovative and visually striking treat that combines the sweetness of cookies with the intricacy of a spider web design. Whether for Halloween or as a creative snack for a themed party, these cookies add a touch of charm and fun. The use of a cookie stamp to create the design makes these cookies particularly easy to prepare, even for beginner bakers. The spider web pattern gives them a distinct, eye-catching look that is sure to impress your guests.
What Makes Spider Web Cookie Stamp Cookies Special?
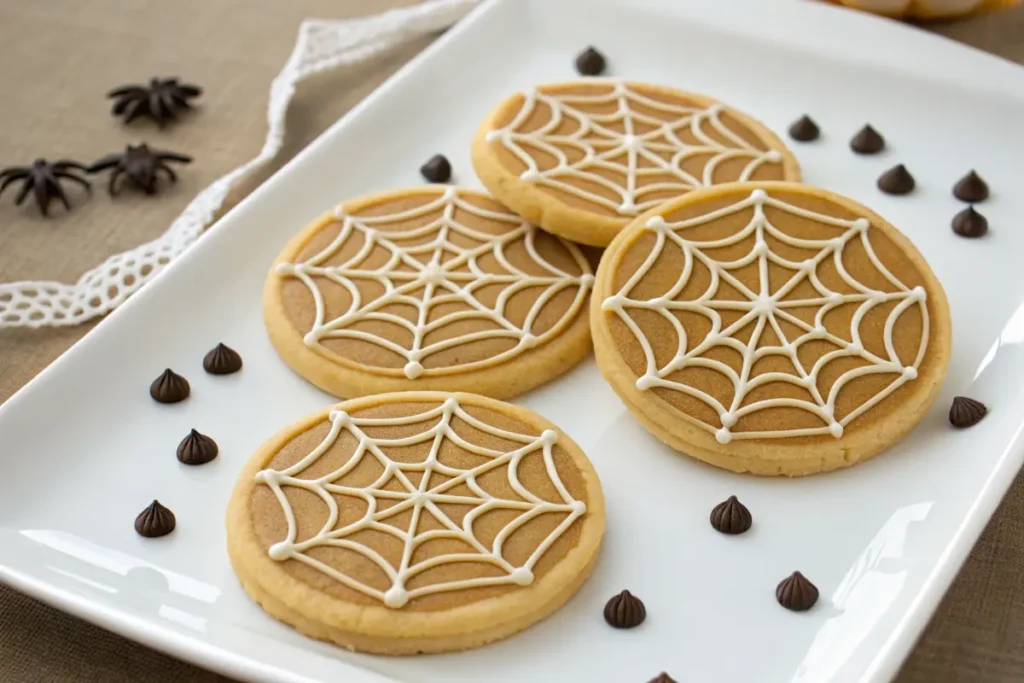
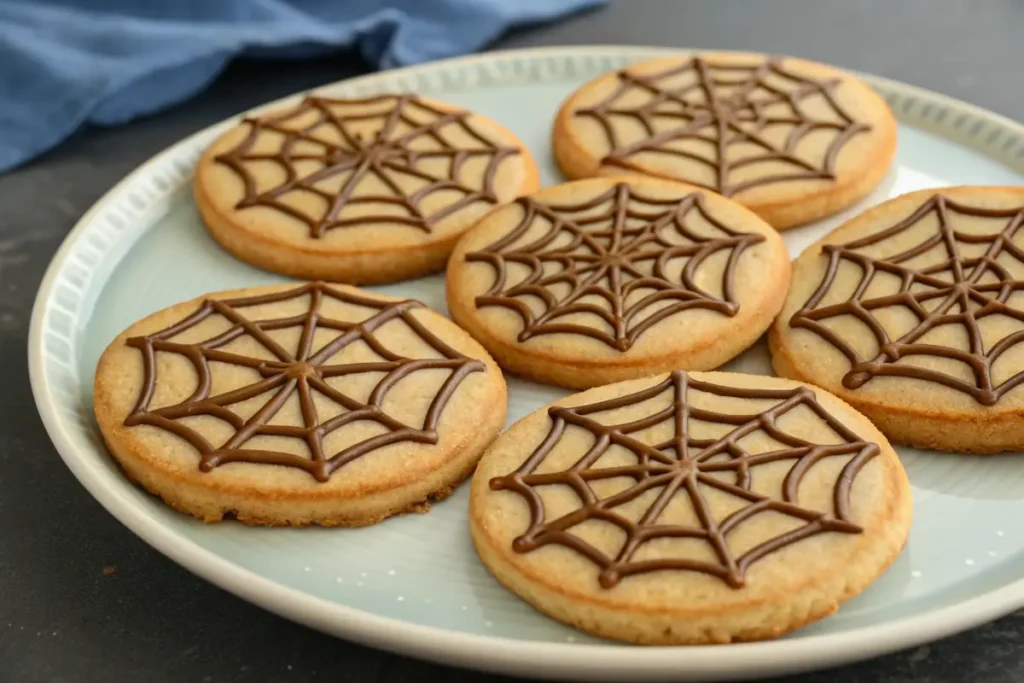
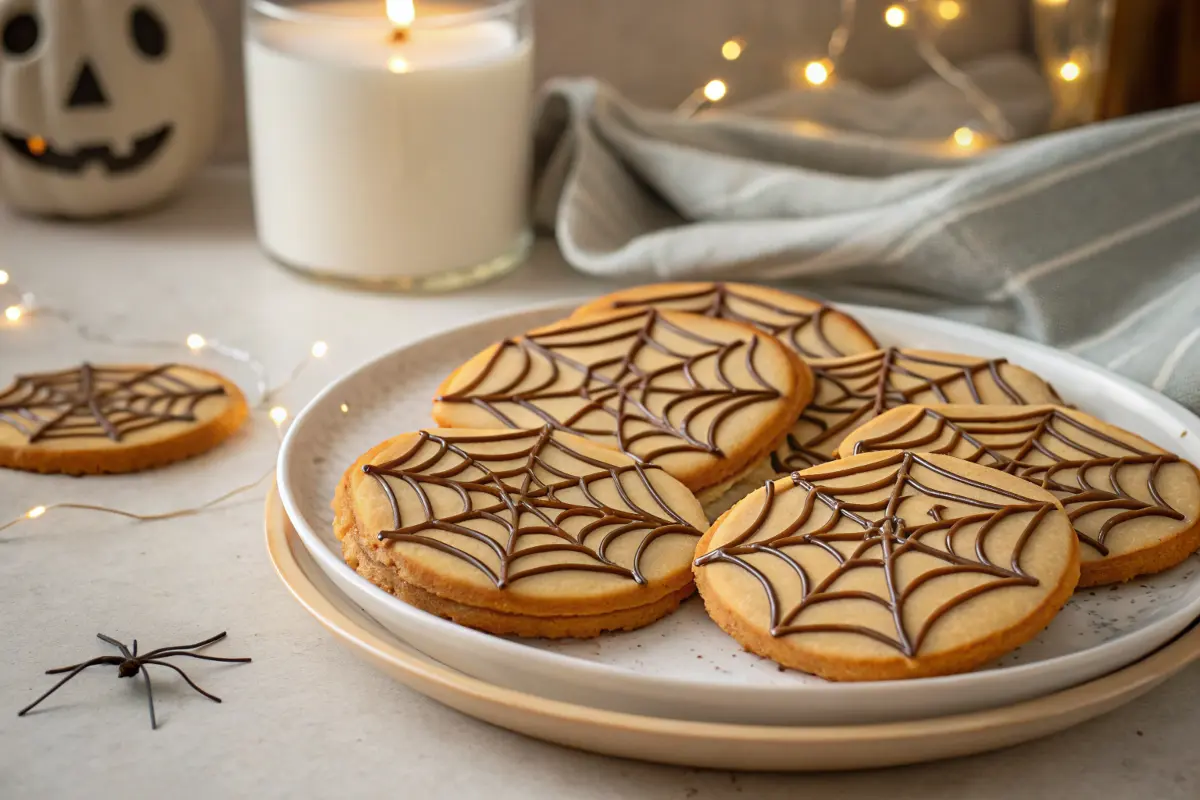
The unique aspect of spider web cookie stamp cookies lies in their striking design. The stamp allows you to create a spider web effect on the surface of each cookie, making them appear intricate and professionally decorated. This design is achieved without the need for complex piping or advanced decorating skills. The cookies can be enjoyed not only for their flavor but also for their visual appeal, making them perfect for themed events like Halloween or spooky-themed birthday parties.
Essential Tools for Making Spider Web Cookie Stamp Cookies
To create the perfect spider web cookie stamp cookies, a few essential tools are required. These include:
- Cookie Stamp – To press the intricate spider web design onto the dough.
- Rolling Pin – To roll out the dough evenly.
- Baking Sheet – To place the cookies before baking.
- Parchment Paper – For easy cookie removal after baking.
- Wire Rack – For cooling the cookies before decorating.
Choosing the Right Cookie Stamp for Spider Web Designs
When selecting a cookie stamp, it’s important to choose one with a detailed and clear design. Look for a stamp that has an intricate spider web pattern, ensuring that the design will show up beautifully on the cookie surface.
Alternatives to Cookie Stamps for Spider Webs
If you don’t have a cookie stamp, you can create the spider web effect using a toothpick, fork, or other fine tools to etch the design onto the dough. While this may not be as precise as using a stamp, it can still create a visually appealing spider web pattern.
Ingredients for Spider Web Cookie Stamp Cookies
The key to making delicious spider web cookie stamp cookies is using the right ingredients. These include:
- Flour: The base for perfect cookies, providing structure.
- Sugar and Butter: For a rich, sweet, and tender texture.
- Eggs: To bind the dough and give the cookies a light and airy texture.
- Flavorings: Vanilla, almond extract, or other flavorings to elevate the taste.
Flour: The Base for Perfect Cookies
Flour is the foundation of any cookie recipe. It provides structure and helps the dough hold together. For these cookies, all-purpose flour works well, but you can experiment with other types for different textures.
Sugar and Butter for a Rich Taste
Sugar adds sweetness to the cookies, while butter contributes to their soft texture and rich flavor. Both ingredients are essential in creating the right balance of sweetness and consistency.
How to Use Eggs in Cookie Dough
Eggs help bind the ingredients together and contribute to the cookie’s texture. They also help the dough rise slightly, creating a soft, tender cookie.
Adding Flavors: Vanilla, Almond, and More
Flavoring your cookie dough with vanilla or almond extract enhances the overall taste. Feel free to experiment with different flavorings to give the cookies a unique twist.
Step-by-Step Instructions for Spider Web Cookie Stamp Cookies
Preparing the Dough for Spider Web Cookies
Start by creaming together the butter and sugar until light and fluffy. Add the eggs and flavoring, mixing well before gradually incorporating the flour. Chill the dough for at least one hour to make it easier to roll out.
Rolling Out the Dough for Cookie Stamps
Once chilled, roll the dough out on a floured surface to about 1/8-inch thickness. This thickness is perfect for stamping and ensures the design is clearly visible.
Stamping the Spider Web Design
Gently press the cookie stamp into the dough to create the spider web design. Be sure to press evenly to get a clear and defined pattern.
Baking and Cooling Spider Web Cookies
Place the stamped cookies onto a baking sheet and bake at 350°F for about 10–12 minutes, or until the edges are lightly golden. Allow the cookies to cool completely on a wire rack before decorating.
Decorating Spider Web Cookies
How to Make Icing for Spider Webs
For the icing, combine powdered sugar with a little water or milk to create a thick yet spreadable consistency. Add food coloring if desired. Use a piping bag to carefully outline the spider web pattern, and fill in the spaces with black or white icing.
Adding a Spider Accent to Your Cookies
For extra flair, consider adding small spider decorations on top of the web. You can use candy spiders, black licorice strings, or even a small piece of chocolate to create the spider effect.
Tips for Perfect Spider Web Cookie Stamp Cookies
Correct Thickness of Dough for Stamping
Ensure that the dough is rolled to an even thickness for the stamp to create a perfect design. Too thin, and the design may not show; too thick, and the stamp won’t make a clear impression.

Avoiding Common Mistakes in Cookies
Some common mistakes to avoid include overbaking the cookies, which can cause the design to lose its clarity, or using dough that’s too soft to hold the stamp’s details. Make sure the dough is chilled sufficiently before stamping.
Customizing Your Spider Web Cookie Stamp Cookies
Spider web cookie stamp cookies are versatile and can be easily customized to match your specific preferences or the theme of your event. Here are some ways to get creative with these cookies:
- Use Different Icing Colors
While traditional cookies are often decorated with white or black icing, you can play with different colors to fit a theme. For example, for a Halloween party, you could use orange, green, and purple icing. You could also create a spooky glow effect by using glow-in-the-dark food coloring. - Incorporate Edible Glitter
For an added touch of glamour, sprinkle edible glitter on the spider web design. This gives your cookies a magical shine, perfect for Halloween or a festive event. - Try Different Flavor Combinations
Though traditional spider web cookies are made with a vanilla or almond flavor base, consider experimenting with other flavors. Cinnamon, chocolate, or citrus zest can add a unique twist to the flavor profile. - Create Themed Variations
If you’re hosting a Halloween party, why not make some of your cookies into mini spider shapes by using a spider cookie cutter? You can also swap out the spider web design with other spooky motifs like pumpkins, ghosts, or bats using different cookie stamps.
How to Make Cookie Stamp Cookies Vegan-Friendly
For those following a plant-based diet, you can easily modify this recipe to be vegan-friendly without sacrificing taste or texture. Here are a few simple substitutions:
- Butter Substitute
Swap the dairy butter for a plant-based butter or coconut oil. Both options will provide the same rich, buttery taste. If using coconut oil, make sure it is in a solid state when preparing the dough. - Egg Substitute
Flax eggs are a great alternative to traditional eggs. To make one flax egg, mix one tablespoon of ground flaxseed with three tablespoons of water. Let it sit for about five minutes until it thickens, and then use it as a direct substitute for one egg. - Sugar Choice
Ensure the sugar you use is vegan-friendly. Some sugars are processed with bone char, so look for certified vegan sugar or opt for alternatives like coconut sugar or maple syrup.
By making these simple changes, you can create a delicious and vegan version of spider web cookie stamp cookies that everyone can enjoy.
Storage and Preservation Tips for Spider Web Cookie Stamp Cookies
If you end up with more spider web cookies than you can eat right away, don’t worry! Here are some storage tips to keep your cookies fresh for longer:
- Room Temperature Storage
Once your cookies have cooled completely, store them in an airtight container at room temperature. They will stay fresh for up to 5–7 days. Make sure to separate the cookies with parchment paper to avoid them sticking together. - Freezing Cookies
Freezing your cookies is a great way to extend their shelf life. If you plan on freezing them, place them on a baking sheet in a single layer and freeze them until solid. Once frozen, transfer them to a freezer-safe container or plastic bag. Frozen cookies will last for up to 3 months. When you’re ready to enjoy them, simply let them thaw at room temperature. - Decorating After Freezing
If you freeze your cookies before decorating, you can still add icing once they’re thawed. However, be aware that the texture of the icing may change slightly, so it’s best to decorate right after baking and cooling, if possible.
Creative Variations for Spider Web Cookie Stamp Cookies
If you’re looking to take your spider web cookie stamp cookies to the next level, there are plenty of creative twists you can try. These variations can make your cookies even more personalized or suitable for different occasions:
1. Add Colorful Spider Webs
Instead of sticking to the traditional black-and-white design, consider making the spider webs in a variety of colors. Use food coloring to dye your icing in different shades like red, green, or purple to create a bold look. This is especially fun for holiday-themed parties or events where you want to match the colors to the party theme. A neon green spider web on black cookies, for example, can give your Halloween party an eerie vibe.
2. Create Cookies with Glazed Icing
For a more polished, professional look, you can opt for a smooth glaze instead of traditional royal icing. To make the glaze, mix powdered sugar with milk or water until it’s pourable but thick enough to cover the cookie in one layer. You can tint the glaze to match your theme, then pipe the spider web design on top after the cookies have been glazed.
3. Use Different Cookie Shapes
While round cookies are the most common base for spider web designs, you can experiment with different shapes. Try making spider web cookies in the shape of bats, pumpkins, or even ghosts to enhance the spooky theme. This variation works especially well for Halloween but can also be adapted for other holidays or special events.

4. Spider Web Cookies with Chocolate Drizzle
For an extra burst of flavor, you can drizzle melted chocolate over the spider web design once the cookies have cooled. Dark, milk, or white chocolate can add a layer of richness to the cookie, complementing the sweetness of the icing. This approach can give your cookies a gourmet touch and make them stand out at any event.
5. Mini Spider Web Cookies
If you’re serving a crowd and want to provide bite-sized treats, consider making mini versions of your spider web cookies. Simply use a smaller cookie cutter or roll the dough thinner to make the cookies. These mini treats are perfect for parties or as a quick snack, and they still look just as adorable as their larger counterparts
Spider Web Cookie Stamp Cookies for Every Season
While spider web cookies are most commonly associated with Halloween, their versatility means they can be made year-round, with variations to suit different seasons and holidays. Here’s how you can adapt the recipe to fit any occasion:
Halloween Spider Web Cookies
Halloween is the perfect time to bring out the spooky spider web cookies. Use black food coloring in your icing to create eerie designs, and add candy spiders or edible glitter for an extra touch of creepy. You can even use a bit of green food coloring for a “toxic” look or a glowing effect with edible glow-in-the-dark dust.
Christmas Spider Web Cookies
For the holiday season, swap the spider web design for something festive. You could create snowflakes, Christmas trees, or reindeer designs using a similar cookie stamp. To keep the spirit of the original spider web design, you can make the icing white to resemble snow and use a red or green glaze to add festive accents.
Valentine’s Day Spider Web Cookies
For a Valentine’s Day twist, create heart-shaped cookies and use pink, red, and white icing. You could even add a cute heart at the center of the spider web design to tie into the romantic theme.
Why Spider Web Cookie Stamp Cookies Are Great for Kids
Not only are spider web cookie stamp cookies fun to make, but they are also an excellent project to do with kids. Here’s why:
- Simple Yet Fun Design
Kids will love using the cookie stamp to create the intricate spider web pattern. The stamping process is easy for even young children to help with, making this a great activity for family baking time. - Personalized Decorating
Once the cookies are baked and cooled, kids can take over the decorating! They can experiment with different colors of icing, sprinkles, or even add mini candy spiders to make their cookies truly unique. The opportunity for creativity is endless. - Educational Fun
Baking is not only fun, but it also provides an opportunity to teach kids some basic cooking skills. You can involve them in every step, from mixing ingredients to rolling the dough and pressing the stamp. It’s a hands-on learning experience that can also be a great bonding activity. - Great for Parties
If you’re hosting a kids’ party or gathering, spider web cookies are an excellent treat. You can set up a decorating station where kids can decorate their own cookies. This makes the cookies a fun activity, as well as a delicious snack!
Frequently Asked Questions about Spider Web Cookie Stamp Cookies recipe
Can I Make Spider Web Cookie Stamp Cookies in Advance?
Yes, you can prepare the dough in advance and store it in the refrigerator for up to 3 days before baking. You can also freeze the dough for up to a month. This is an excellent way to save time when preparing cookies for a party or event.
Can I Add Other Decorations Besides Icing?
Absolutely! You can use various edible decorations to complement the spider web design. Candy eyes, chocolate spiders, or even candy corn are great ways to make your cookies stand out. Let your imagination run wild!
Can I Use Cookie Mix Instead of Homemade Dough?
If you’re short on time, you can absolutely use store-bought cookie dough to make these spider web cookies. While homemade dough is ideal for the best texture and taste, pre-made dough can still provide a quick and convenient alternative.
What Other Events Can I Make Spider Web Cookie Stamp Cookies For?
While spider web cookies are perfect for Halloween, they can also be adapted for other occasions. For example, you can use different cookie stamp designs to create themed cookies for birthday parties, themed movie nights, or even a winter wonderland party. The creative potential is endless.
Conclusion
Spider web cookie stamp cookies are a delightful treat that combines creativity with flavor. Whether you’re a novice or an experienced baker, these cookies are a fun and rewarding project. The stamp allows anyone to create an intricate spider web design with minimal effort, making these cookies suitable for both beginner and seasoned bakers alike.
With simple ingredients, creative decorating options, and plenty of opportunities to customize, these cookies are perfect for holidays, themed parties, or just as a fun family baking activity. Whether you keep it classic with traditional icing or add personal touches like spiders or edible glitter, these cookies are sure to be a hit.
Enjoy the process of making these visually stunning and delicious cookies, and share them with friends and family at your next event. Happy baking!


3 thoughts on “Spider Web Cookies – Perfect Treats for Halloween and Parties”